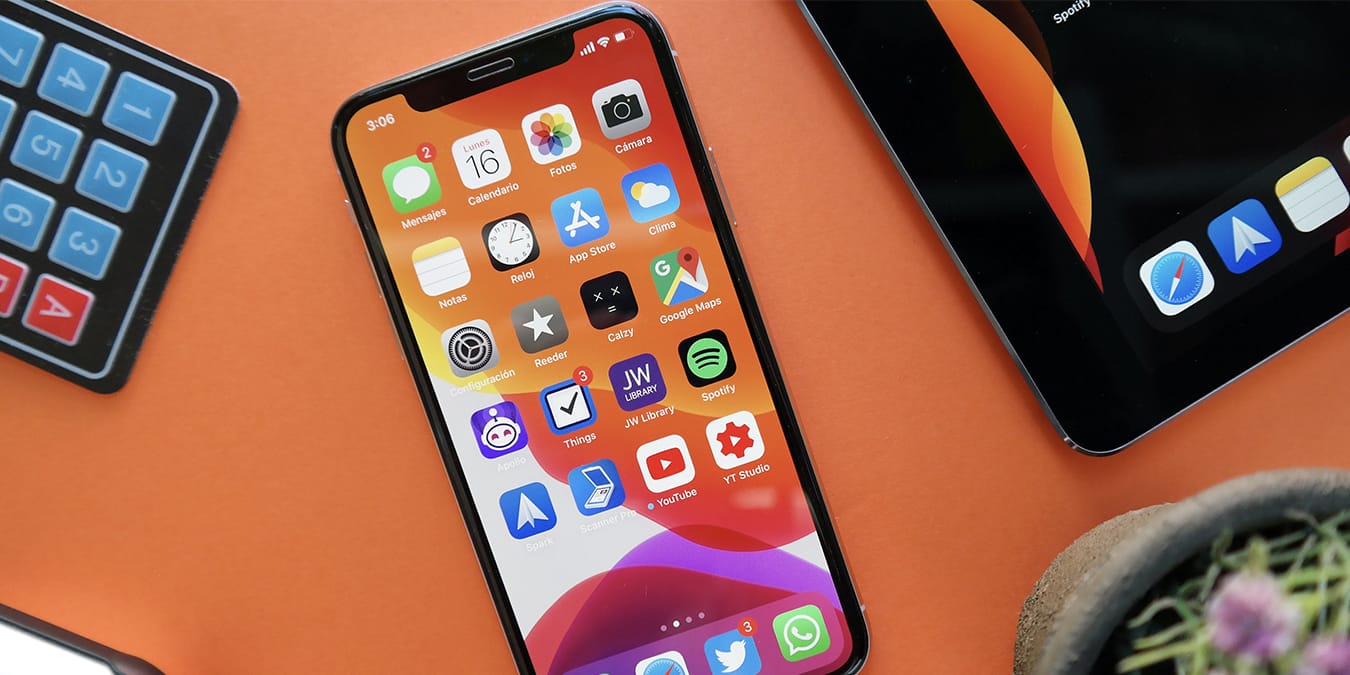
Using Face ID on your iPhone comes with many benefits. For example, you can use it to unlock your phone, make purchases, log in to apps, and plenty more. On top of that, this feature is in charge of securing sensitive data, which each of us should truly care about. Here you’ll learn how to set up Face ID on your iPhone, which won’t take more than a minute of your time.
Which iPhones Are Compatible with Face ID?
Not every iPhone that has a front-facing camera supports Face ID. Therefore, it’s crucial to check whether your phone supports this feature. Check the list of supported iPhones just below:
- iPhone 12 Pro Max
- iPhone 12 Pro
- iPhone 12
- iPhone 12 mini
- iPhone 11 Pro Max
- iPhone 11 Pro
- iPhone 11
- iPhone XS Max
- iPhone XS
- iPhone XR
- iPhone X
It’s interesting to note that Face ID is now part of iPadOS as well. It’s available on the 1st and 2nd generation of iPad Pro 11-inch, as well as on the 3rd and 4th generation of iPad Pro 12.9-inch. Do note that the steps below on setting up Face ID apply to the iPad Pros as well.
Steps to Set Up Face ID on iPhone
Use the following steps to set up Face ID on your smartphone.
1. Make sure nothing is covering your nose or mouth, like a face mask. Feel free to wear your glasses or contacts, though. Also, keep in mind that Face ID works best when your iPhone is an arm’s length or closer (10 to 20 inches / 25 to 50 centimeters) from your face.
2. Launch the Settings app. Navigate to “Face ID & Passcode.” If you already have a passcode set up, you’ll be asked to enter it. You’ll see a set of features related to Face ID.

3. Select “Set Up Face ID.” At this moment, you’ll see the Face ID setup guide, asking you to position your face in the camera frame. As you may expect, you need to hold your iPhone in portrait orientation. Once ready to proceed, tap on “Get Started.”

4. Follow the instructions you’ll see on the screen. Your phone will ask you to move your head slowly to complete the animated circle. As you move, you’ll see subtle animations on your screen, letting you know the progress you’re making. If you can’t move you head for any reason, make sure to tap on “Accessibility Options” at the bottom of your screen.
5. Once the scanning is done, you’ll see a confirmation message. Tap on “Continue” and do a second scan. Your Face ID requires you to scan your face two times to learn your facial features in depth. Tap on “Done” to exit the Face ID setup guide once you’ve finished scanning your face.

6. At this moment, you’ll return to the “Face ID & Passcode” screen. Take a quick look at the options. You can decide which actions you want to use with Face ID, such as unlocking your phone, making App Store purchases, etc.

7. Return to your iPhone’s home screen. Feel free to try Face ID by locking your phone. Once you wake its screen, Face ID will kick into action, scanning your face and logging you in.
More Face ID Tips
1. Fine-Tune the “Require Attention for Face ID” Feature
Remember that Face ID requires you to look directly at your phone to proceed with your authentication requests. In everyday use, you’ll see that avoiding having to look directly at your phone is helpful – especially if you unlock it frequently.

We recommend navigating to “Settings -> Face ID & Passcode,” then toggle the switch next to “Require Attention for Face ID” (the switch needs to be disabled). Face ID will now lower its “criteria” for authentication, unlocking your iPhone even if it’s not directly in front of your face.
2. Use Apple Watch to sign in when you’re wearing a face mask.
This is something Apple never would have conceived of when they first added Face ID to the iPhone. When wearing a face mask or other face covering because of COVID or another reason, Face ID doesn’t work.

You don’t have to expose yourself, however, to a possible infection by removing your mask to sign in – if you have an Apple Watch running Watch OS 7.4 or later and an iPhone running 14.5 or later.
On your iPhone, go to “Settings -> Face ID & Passcode” and log in with your passcode. Scroll down and toggle on the option under “Unlock with Apple Watch.” Now when your phone detects you’re wearing a face mask, your watch will spring into action and sign you in.
3. Simply Use the Passcode When Face ID Fails
What if you don’t have an Apple Watch but don’t want to take off your face mask? What if you have an Apple Watch, but you’re still struggling to sign in? Simply use your passcode. Sure, the reason you are using Face ID is so that you don’t have to use your passcode, but there will be times you will still need to. Face ID is not ideal for all situations and is not failproof.
In case of any issues, make sure to check out our guide on how to fix problems with Face ID.
Our latest tutorials delivered straight to your inbox


